

Baldur’s Gate 3: Gauntlets of Shar Guide One of the most challenging and rewarding areas in the game is the Gauntlet of Shar, a dungeon dedicated to the goddess of night and her followers, the Dark Justiciars. In this guide, we will show you how to complete the Gauntlet of Shar, obtain the Umbral Gems, and unlock the secrets of the Silent Library.
The Gauntlet of Shar is located in the Shadow Cursed Lands, a region that is accessible after you reach Moonrise Towers in Act 2. To enter the Gauntlet, you need to find the Thorm Mausoleum, which is marked by a large statue of General Thorm, a legendary hero who fought against Shar’s forces. Inside the mausoleum, you will encounter Disciple Z’rell, a follower of Shar, who will challenge you to a riddle. If you answer correctly, he will let you pass. If not, you will have to fight him and his undead minions.

Riddle and Answer
–The night falls and darkness reigns. The moon rises and shadows dance. The stars shine and secrets whisper. What do they all have in common?
The correct answer is Shar.

Soft Step Trial In Baldur’s Gate 3: Gauntlets of Shar
The Soft Step Trial tests your stealth and agility. You can find it by taking the stairs down from Balthazar’s room and going through the first door on your left. To start the trial, you need to make a small blood sacrifice in a dish in front of three locked doors. This will open one of them randomly and allow you to enter.

Inside each door, there is a different challenge that requires you to avoid detection and reach a lever at the end of the room. The lever will lower one of the Mystic Thuribles that surround Shar’s statue in the main hall. You need to lower all three Thuribles to disable the force field around the Umbral Gem.
The challenges are as follows:
- The first door leads to a room filled with pressure plates that trigger traps if stepped on. You need to use your jump ability or your dash action to avoid them and reach the lever.
- The second door leads to a room filled with patrolling skeletons that will attack you if they spot you. You need to use your stealth ability or your invisibility spell to sneak past them and reach the lever.
- The third door leads to a room filled with laser beams that will sound an alarm if crossed. You need to use your misty step spell or your teleportation scroll to bypass them and reach the lever.
Once you lower all three Thuribles, you can return to the main hall and claim your Umbral Gem from Shar’s statue.
Self Same Trial In Baldur’s Gate 3: Gauntlets of Shar
The Self Same Trial tests your intelligence and perception. You can find it by taking the stairs up from Balthazar’s room and going through the second door on your right. To start the trial, you need to make a small blood sacrifice in a dish in front of four mirrors that show different images.

The trial consists of four rounds, each with a different theme: animals, plants, weapons, and symbols. In each round, you need to identify which mirror shows an image that does not belong to the theme and break it with your weapon or spell. For example, in the animal round, one mirror shows a dragonfly, which is not an animal but an insect.
The correct answers are as follows:
- Animal round: Break the mirror with the dragonfly.
- Plant round: Break the mirror with the mushroom.
- Weapon round: Break the mirror with the staff.
- Symbol round: Break the mirror with the eye.

Faith Step Trial In Baldur’s Gate 3: Gauntlets of Shar
The Faith Step Trial tests your faith and courage. You can find it by taking the stairs up from Balthazar’s room and going through the first door on your left. To start the trial, you need to make a small blood sacrifice in a dish in front of a dark abyss.

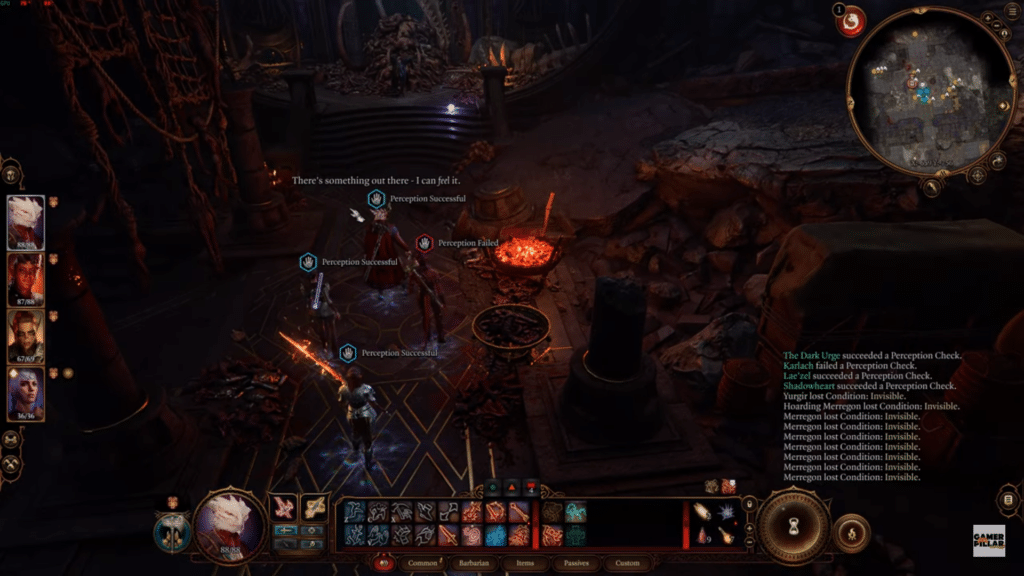
The trial requires you to walk across an invisible bridge that spans the abyss. However, the bridge is not stable and will collapse if you make a wrong step. To find the correct path, you need to use your perception skill or your detect magic spell to see the faint outlines of the bridge tiles. You can also use your jump ability or your fly spell to skip some tiles and avoid falling.

The correct path is as follows:
- From the starting point, go forward one tile, then turn right and go forward two tiles.
- Turn left and go forward one tile, then turn right and go forward one tile.
- Turn left and go forward two tiles, then turn right and go forward one tile.
- Turn left and go forward one tile, then turn right and go forward two tiles.
- Turn left and go forward one tile, then turn right and go forward one tile.
- Turn left and go forward one tile, then turn right and go forward three tiles to reach the end.
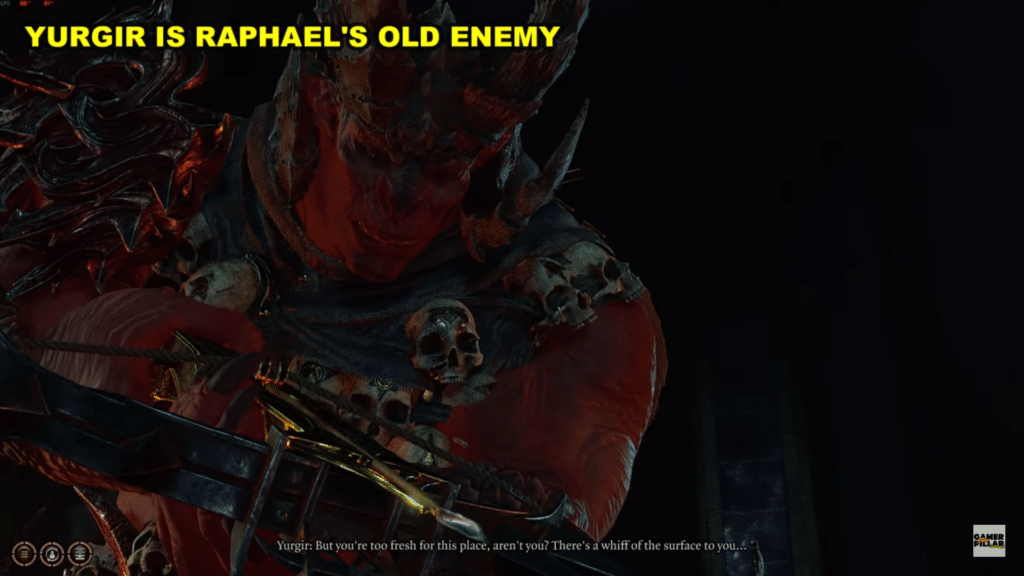
Yurgir Boss Fight
After completing the three trials, you will have three Umbral Gems in your possession. However, you need one more to access the final area of the Gauntlet. To get it, you need to face Yurgir, a powerful necromancer who is Raphael’s old enemy. You can find him by taking the stairs down from Balthazar’s room and going through the second door on your left.
Yurgir is a tough opponent who can summon undead minions, cast powerful spells, and heal himself with his blood pool. To defeat him, you need to use your best abilities, items, and tactics. Here are some tips to help you:
- Focus your attacks on Yurgir and ignore his minions as much as possible. They will keep respawning until he dies.
- Use fire or radiant damage to prevent him from healing with his blood pool. You can also destroy his blood pool with a fireball spell or a bomb item.
- Use magic resistance or protection spells to reduce his damage output. You can also use counterspell or silence spells to interrupt his casting.
- Use crowd control or movement abilities to keep him away from his blood pool or his minions. You can also use push or pull abilities to knock him off the platform and deal fall damage.
- Use healing or buffing abilities to keep your party alive and healthy. You can also use potions or scrolls to boost your stats or restore your resources.
Once you defeat Yurgir, you will be rewarded with the fourth Umbral Gem.

Silent Library Puzzle In Baldur’s Gate 3: Gauntlets of Shar Guide
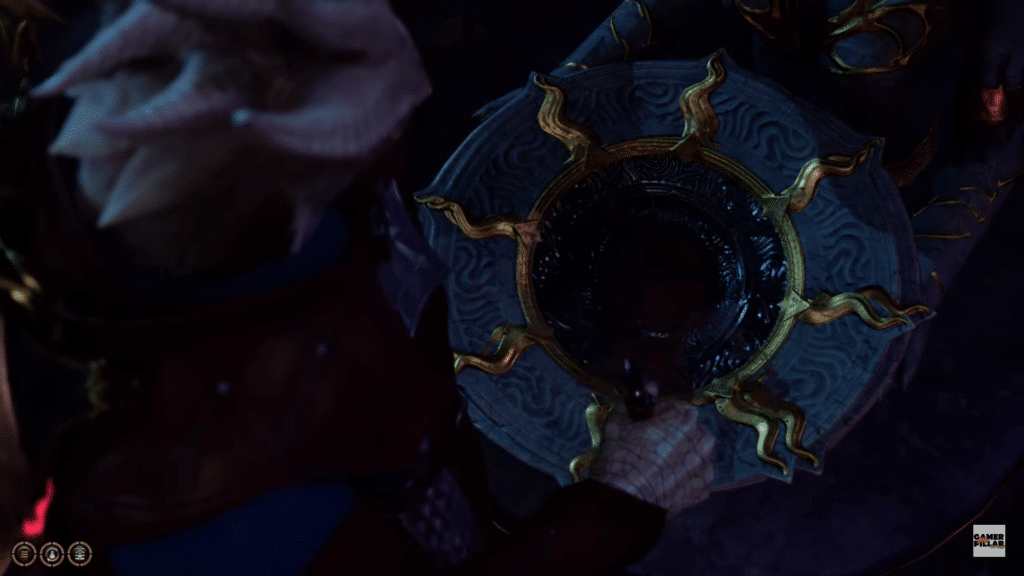
After obtaining all four Umbral Gems, you can access the final area of the Gauntlet: the Silent Library. This is where Thorm’s relic is hidden, as well as a secret weapon for Shadowheart. To enter the library, you need to place the four Umbral Gems on the pedestals near Shar’s statue in the main hall. This will open a hidden door behind the statue that leads to the library.

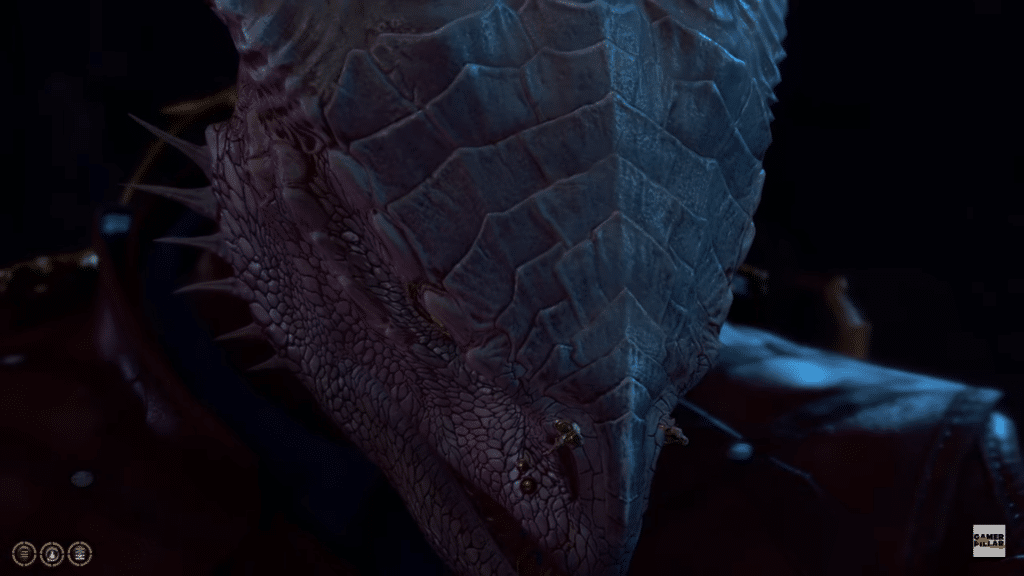
The library is a large and mysterious place that contains many books, scrolls, and secrets. However, it is also guarded by a powerful creature called the Shadowfell Guardian, a dragon-like being that serves Shar. To reach Thorm’s relic and Shadowheart’s weapon, you need to either fight or sneak past the Guardian.
If you choose to fight, you need to be prepared for a tough battle. The Guardian has high health, armor class, and damage output. It can also fly, breathe fire, cast spells, and summon shadows. To defeat it, you need to use similar strategies as for Yurgir: focus your attacks on the Guardian, use fire or radiant damage, use magic resistance or protection spells, use crowd control or movement abilities, and use healing or buffing abilities.
If you choose to sneak, you need to be careful not to alert the Guardian. It has high perception and will attack you if it sees or hears you. To avoid detection, you need to use your stealth ability or your invisibility spell. You can also use your distraction ability or your noise-making item to lure it away from your path.
Whether you fight or sneak, you need to reach the back of the library where Thorm’s relic and Shadowheart’s weapon are located. Thorm’s relic is a large crystal that contains his soul and memories. You can interact with it to learn more about his life and his connection to Shar.
Congratulations! You Have successfully completed Baldur’s Gate 3: Gauntlets of Shar Guide
ALSO READ : Baldur’s Gate 3: Best Level 1 Spells