

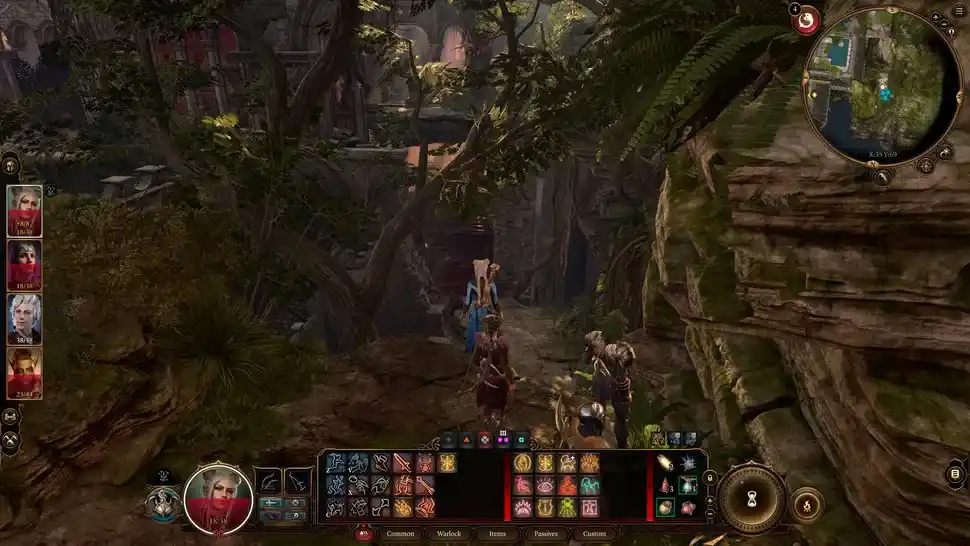
Baldur’s Gate 3: Rosymorn Monastery (Walkthrough): As you near the end of Act 1 in Baldur’s Gate 3, you may stumble upon Rosymorn Monastery. This is the point at which you can choose to continue into the Underdark or take the mountain pass to reach Moonrise Towers. If you pick the latter, you will discover a run-down monastery off the main path, as well as a very difficult riddle to solve.

Rosymorn Monastery can be found in Baldurs Gate 3. In this location, you can obtain the Dawnmaster’s Crest by completing the Stained-Glass puzzle. In addition, players can search for the Legendary mace Blood of Lathander or steal a Githyanki Egg for Lady Esther’s quest. Lae’zel’s companion quest requires the Githyanki Creche, which can also be obtained at Rosymorn Monastery.
Allow us to guide you through the intricate puzzle found in Baldur’s Gate 3 Rosymorn Monastry Walkthrough. We will also talk about the rewards waiting for you at the end so hang on tight until the end!
Baldur’s Gate 3: Rosymorn Monastery Location
The Rosymorn Monastery can be found in the Mountain Pass area. Once in the Mountain Pass, look for a waypoint called Trielta Crags on your map. The Rosymorn Monastery is located straight to the northeast of there. Follow the path in that direction until you reach a Cable Car.

To ride the Cable Car, you must pass a Strength check (15 or above). This is the quickest way to get to Rosymorn Monastery from Baldurs Gate 3. If you fail the strength test, you will see a rough rock that allows you to safely descend off the nearby cliff.
When you reach the bottom of the cliff, leap over the gap to continue. The trail ahead leads straight to Rosymorn Monastery.
The main door to the Rosymorn Monastery is locked, so you will have to find another way in. To enter the Monastery, return to the spot where you watched the Halflings cutscene.
Jump into the trees from the shattered fence (X:55 Y:8) and begin traveling anti-clockwise. This route requires a lot of jumping. Continue walking until you reach the tangled roots. Climb the roots to get higher.
From there, turn right and walk into the ruins. Continue trekking through the ruins until you reach the inside of Rosymorn Monastery (X:94 Y:47). Enter the only shattered window in the chamber (X:73 Y:65). Jump down and unlock the main door (X:79 Y:49) for later use.
Baldur’s Gate 3: Rosymorn Monastery Puzzle (Walkthrough)
Climb up the vines nearby from the Rosymorn Monastery waypoint, then hop over the gap and smash the boarded-up piece of the building ahead. You’ll have to fight a swarm of Gremishka—magic apparently enrages them, so be cautious—but they’re not too difficult.

Exit through one of the doors on the opposite side of where you entered, then turn left, then right at another boarded-up area. Follow the path to the left to enter a room with a circular stained-glass window on the floor and four altars around the perimeter. On the front of one of these altars are two glowing blue lights and a Ceremonial Longsword.
When you look closely at the stained glass window, you’ll find that each quadrant of the circle portrays a keeper with a weapon. The one nearest to the altar with the sword is holding a sword, thus you must find the weapons for the other altars to finish the puzzle.
Here are the steps for solving the stained-glass window puzzle:
- Warhammer: Northeast
- Longsword: Northwest (already placed)
- Battleaxe: southwest (broken piece)
- Mace: southeast

You can utilize the tactical view (press O) to help you orient yourself: the minimap also features compass marks. I could not find a more beautiful way to place the weapons, so I used the Throw command.
After you have placed all of the weapons, you’ll gain the Morninglord’s Radiance bonus, which increases the Radiant damage dealt by your weapon attacks. If you plan on going further up the mountain pass, it will come in handy.
Ceremonial Warhammer
After obtaining the Battle-axe, exit the room and look to your left for knotted roots (vines) that you can climb. To get to the roof, climb the roots. On the roof, you must kill the Ancient and the Giant Eagle.

You can assault the eagles or use Animal Handling, which requires a class roll of 18 or higher on a high difficulty. Once defeated, the Warhammer can be found near the Eagle’s Nest.
Ceremonial Battle-axe
Return from the stained-glass room and turn left to obtain this axe first. You will come upon an enchanted locked door (X:95 Y:47). Lockpicking requires a dexterity check of at least 15.
You must vanquish the Guardian of Faith in the room after opening the door. The Guardian of Faith is a celestial guardian. Use ranged assaults when dealing with the Guardian of Faith. It only pursues characters who are inside the gold circle on the ground.

So, if you stay outside the circle and fire spells, arrows, or bombs at it, your entire party will be safe, and you will easily defeat him. After fighting it, you can remove the rubble that was blocking the door and retrieve the Battle-axe that was laying on the floor.
Ceremonial Mace
Return to the Stained-Glass chamber after obtaining the Warhammer and exit through the smashed window. After that, drop into the large hole in the ground to reach the lower floor and open the oak door (x:91 y:55). The Rusty Mace (X:89 Y:32) may be found towards the end of this room.
Conclusion
Even though they appear simple, puzzles contain numerous hidden layers. Dawnmaster’s Crest demands the ceremonial Battle-axe Warhammer, Mace, and Longsword, however the game does not clarify whether these weapons must be Ceremonial or not. They can, however, be basic weapons as well.
Every puzzle and mission have multiple solutions; you can use this guide to find the best and most efficient way to complete a task. Also, read How To Save Grand Duke in Baldur’s Gate 3?